Signs It’s Time to Replace Your RV Roof Sealant
Keeping water out of your RV seems straightforward until a tiny seam turns tricky. Roof sealant works quietly in the background, guarding the places where parts meet, so your coach stays dry, comfortable, and structurally sound.
Fresh, flexible sealant does more than fill a gap. It moves with heat, cold, and road vibration, which keeps hairline openings from forming at vents, skylights, antennas, racks, and the roof-to-sidewall transition. That flexibility is what prevents a small drip from becoming a big repair.
Roof Materials 101
Knowing your roof material helps you pick the right product and the right schedule. EPDM rubber often has a talc-like surface and needs sealants made for rubber membranes. TPO and PVC require compatible cleaners and sealants that will not soften the sheet. Fiberglass resists punctures, yet still depends on healthy seams around every penetration. Aluminum expands and contracts with temperature swings, which makes meticulous seam care essential.
Climate and storage matter, too. A coach that lives in direct sun near the Gulf South faces relentless ultraviolet exposure and humidity. That environment ages sealant faster than a rig stored indoors in a mild climate, so inspection cadence and replacement timing should reflect how and where you travel.
Which Sealant Type Fits the Job
You will notice two broad categories on the shelf. Self-leveling sealant is made for flat, horizontal surfaces and flows gently to fill shallow depressions around flanges and screw heads. Non-sag sealant holds its shape on vertical joints and trim. Silicone brings strong ultraviolet resistance, though many techs favor butyl or hybrid polyurethane in areas that might need future repainting or re-adhesion.
A single roof often uses more than one type. Horizontal penetrations get self-leveling for a smooth, shed-water surface, while vertical sidewall joints, ladder mounts, and corner caps call for non-sag. Matching the product to the plane prevents runs, voids, and thin spots.
How Often Should You Replace Sealant?
Replacement intervals depend on sun, heat, storage, and the last application. In hot, humid regions, many owners plan to refresh the most exposed seams every twelve to twenty-four months. Semiannual inspections in spring and fall keep you ahead of aging that can accelerate after a stormy season or a long trip.
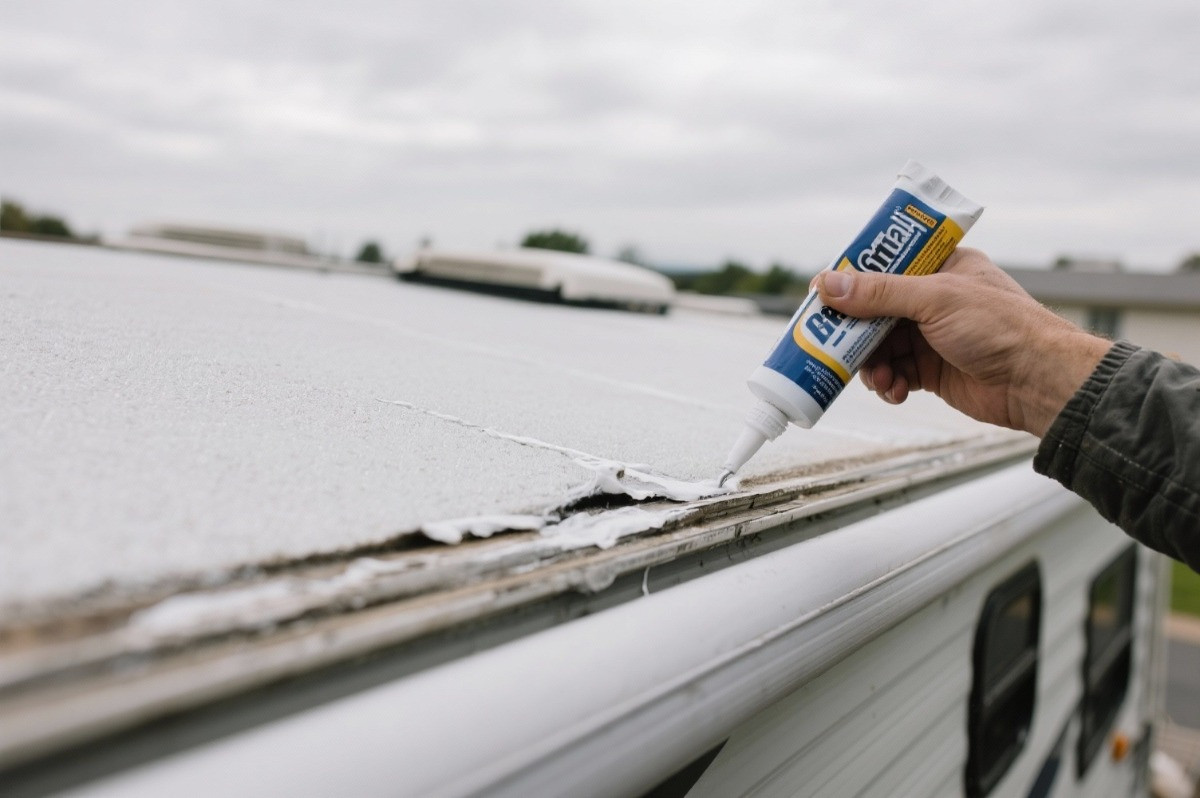
Early Warning Signs You Can See
Cracks, splits, and alligator-skin patterns are the obvious cues. A bead that once looked smooth can develop hairline fissures, and even a thin crack along a vent flange is enough to channel water under the membrane.
Discoloration matters, too. Sun-faded sealant that turns chalky or powdery often becomes brittle, which means it will not flex as the roof expands at midday and cools at night. The bead may look intact, yet failure commonly follows soon after that chalking shows up.
Edges that lift or peel away from the surface indicate adhesion loss. That separation creates a hidden tunnel where wind-driven rain can travel farther than you would expect. A gentle tug with a plastic trim tool tells you a lot, and if a long strip lifts easily, it is time for replacement rather than a quick touch-up.
Interior Clues That Point to the Roof
Stained ceiling panels, a faint musty smell after rain, or a soft spot near a light fixture suggest water is already inside. Moisture can migrate laterally through plywood or foam before it shows up in the cabin. Those interior hints justify a slow, methodical roof inspection to find the real entry point.
Do Not Ignore Perimeter and Hardware
The roof-to-sidewall transition works hard, juggling movement in several directions at once. A small break at the top of a trim rail can look harmless from the ladder, yet that area takes the brunt of wind-thrown rain at highway speeds. Fresh, clean beads along the perimeter pay dividends.
Fasteners deserve attention. Screws can back out a fraction over time, wobble under vibration, and hollow out the seal around the head. Look for tiny halos or dark rings around screws and bracket mounts. Those are early signs that movement has begun and water will not be far behind.
Slideouts and Awnings Need a Closer Look
Slideout roofs and awning rails hide complex seams that can age faster than the open roof field. Slide toppers may mask a cracked bead at the edge, and awning brackets concentrate stress right at their mount points. A bright light and a slow pass around each fastener and flange help you catch issues before they become leaks.
What Inspection Rhythm Works Best?
Consistency beats intensity. A quick roof walk in spring and fall builds a memory for what normal looks like, which makes new cracks or color changes stand out. Recheck after hail, gale-force winds, or long runs in high heat, since those conditions speed up aging.
A simple routine keeps you honest. Clean first so you are not mistaking dirt for damage. Photograph key seams the same way every time to compare aging. Press lightly with a plastic tool to feel for flexibility and bond. Small efforts add up to early catches.
- Clean the roof with a membrane-safe cleaner before every inspection.
- Photograph vents, skylights, antennas, and the perimeter after each cleaning.
- Test adhesion gently along edges that look lifted or dried out.
- Revisit after major storms or long, hot travel days.
Prep and Cleaning Determine Bond Strength
Adhesion begins with a clean, compatible surface. Dirt, chalked rubber, and wax residue block bond. Use the cleaner specified for your membrane, rinse thoroughly, and allow the surface to dry. In many cases, a final wipe with the primer or solvent recommended by the sealant manufacturer improves bond and longevity.
Masking can be worth the extra minute. Painter’s tape along the flange edge creates a crisp line, reduces cleanup, and protects adjacent finishes. Removing the tape as the bead begins to set avoids pulling thin edges.
Remove or Overcoat the Old Bead?
Sound, well-bonded sealant can sometimes serve as an underlayer. Loose, brittle, or poorly adhered bead must come off. A plastic scraper and a controlled hand protect the membrane while you lift failure points. Leaving any section that peels in long strips invites future problems under the new bead.
Tools That Make the Job Easier
- A short kit prevents second trips down the ladder and keeps your passes smooth.
- Nitrile gloves, safety glasses, and kneepads for comfort and protection.
- Roof-safe cleaner, soft brush, microfiber towels, and the specified primer or solvent.
- Plastic scrapers and trim tools for removal.
- A quality caulk gun with smooth rod action for steady flow.
- Self-leveling and non-sag sealants, plus seam tape for wider spans.
- Painter’s tape and a small roller for tape activation where required.
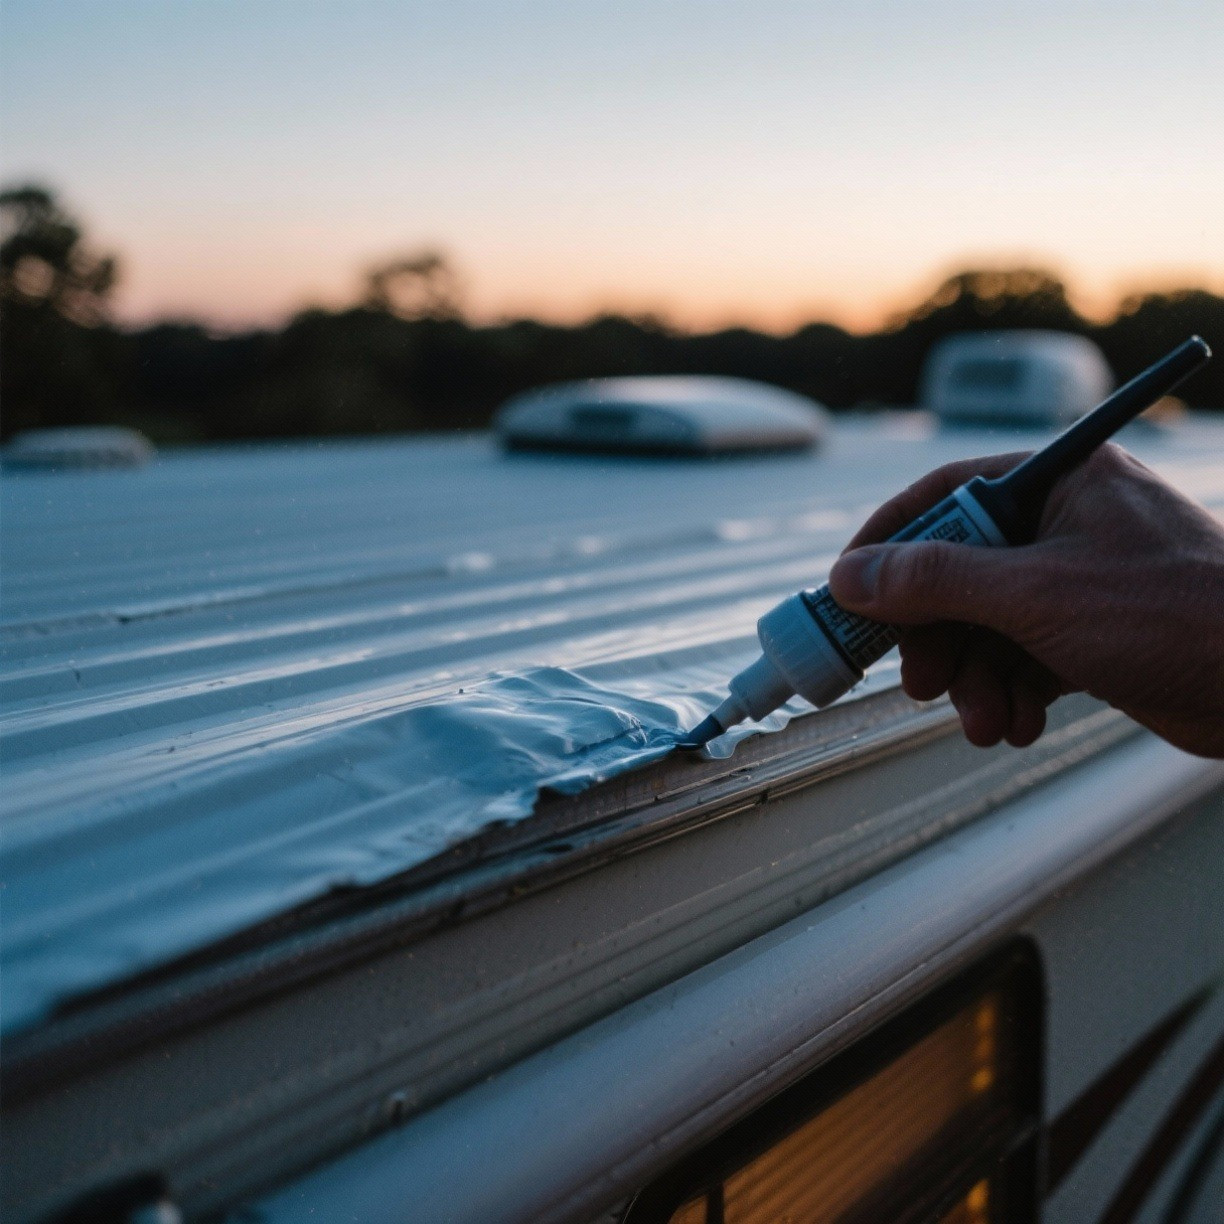
Step-By-Step Reseal You Can Repeat
But Work from the highest area to the lowest so you never kneel on fresh material. Lay continuous beads with steady pressure, and let a self-leveling product settle without overworking it. Tool only when the label allows it, since too much tooling can thin the bead and create voids.
Where gaps are wider or motion is greater, lay seam tape on clean, primed surfaces, roll it firmly to activate the adhesive, and finish the edges with compatible sealant to shed water. Record the date, product, and weather conditions in a maintenance log so you can track performance over time.
- Mask the area for crisp lines and easier cleanup.
- Apply an even bead, then allow self-leveling to do its work.
- Tool minimally and only if the product directions permit.
- Use seam tape on long seams or stressed transitions.
- Log the work for future reference.
Give the Sealant the Conditions It Needs
Cure time is not optional. A surprise sprinkle or an early drive can ripple a new bead or trap moisture. Plan resealing for a calm, dry window, and watch the temperature range on the tube so the chemistry can do its job. If the forecast is shaky, a portable canopy can help shield work areas while the bead sets.
Common Mistakes to Avoid
Problems often come from mixing incompatible products, rushing the prep, or stacking too many materials in one seam. Read labels for membrane compatibility, avoid applying silicone over sealants that do not accept it, and resist quick fixes that skip cleaning and priming. Those shortcuts tend to fail just when you are far from home.
Where Seam Tape Shines
Seam tape complements, rather than replaces, liquid sealant. It excels on long, straight seams, old screw lines, and transitions that flex under heat and movement. Finish tape edges with a compatible bead to create a smooth water path and to protect the adhesive from direct exposure.
When Should You Call a Professional?
Some conditions call for expert hands. Soft decking underfoot indicates possible substrate damage. Widespread adhesion failure, complicated roof accessories, or evidence of hidden moisture under the membrane are best evaluated with moisture meters and trained eyes. A pro can map the problem before it spreads.
How Do Warranties and Documentation Fit In?
Newer rigs and replacement roofs often carry coverage that requires proof of maintenance. Save receipts, labels from the product tubes, before-and-after photos, and dates in one folder. That record protects you during a claim and reassures a future buyer that the roof was cared for on schedule.
Budgeting and Trip Timing
Planning helps you make calm decisions. Routine resealing costs a fraction of structural repairs caused by leaks. Cleaners, a few tubes, and tape for a perimeter refresh sit in the modest range for most owners, while hardware replacement or substrate repairs push costs higher.
Trip timing matters. A pre-trip inspection two weeks before departure leaves room to fix a surprise. Pack a small emergency kit with a compatible tube, a short roll of seam tape, alcohol wipes, and a plastic scraper. That kit turns a roadside drip into a manageable stop rather than a detour.
Storage That Extends Sealant Life
After the reseal, storage drives longevity. Covered parking or a breathable RV cover reduces ultraviolet intensity that bakes roof surfaces through long summers. Gentle washing every few months prevents grime from eroding bead edges, and a quick spot check after washing helps you catch small changes early.
Leak Testing After Everything Cures
A controlled hose test confirms your work. Wait for full cure, then wet small sections at a time while a partner watches inside. Move slowly around vents, skylights, and marker lights. Short, methodical passes prevent water from sneaking under a cover while you are looking somewhere else.
Choosing Products That Suit Your Roof
The right product avoids future headaches. Confirm the membrane type in your owner materials. If the roof was resurfaced or replaced, ask the installer which sealants and primers they used and recommend now. A chemical mismatch can weaken adhesion even when the bead looks fine on day one.
Working Safely on the Roof
Protect the roof and yourself while you work. Foam kneeling pads or scrap cardboard spread weight and reduce the chance of denting foam underlayment. Soft, clean shoes and deliberate foot placement keep the surface clean and intact. A buddy on the ladder makes every step safer.
Can Your Senses Catch Issues Early?
Trust what you smell and feel. A damp odor after rain, a soft spot near a fixture, or a cool draft around a ceiling penetration are subtle cues. Those hints often appear before visible stains, which gives you time to stop water before it reaches finishes and insulation.
Is It Time to Replace the Sealant?
Yes, if you see cracks, lifting edges, chalky brittleness, gaps around screws, or any bead that peels with light pressure. Interior signs such as stains or musty odor move the situation into the urgent category. Acting at the first signal keeps repairs small and prevents hidden moisture from spreading.
Not Sure What Roof You Have?
Unclear labels or previous resurfacing can make identification tricky. A short visit with a trusted service team resolves it quickly. Pros can identify the material at a glance, point you to compatible products, and recommend a maintenance schedule that matches your travel pattern and storage setup.
Can You Extend the Life of Fresh Sealant?
Yes. Gentle cleaning, reduced sun exposure, and periodic quick checks extend lifespan, especially in hot, humid regions. Smoothing a tiny void, topping a thin edge during seasonal inspections, and fixing a loose screw before it moves again add months or years to a seam’s useful life.
When to Leave It to the Pros
Plenty of owners enjoy the peace of a professional reseal. A good shop photographs before-and-after conditions, documents products used, and offers practical guidance for care between visits. That documentation helps with resale, since buyers value proof that a roof has been maintained on schedule.
Schedule a Roof Sealant Check with Berryland Campers
Berryland Campers is ready to inspect your roof, identify your membrane and existing products, and lay out a clear plan that fits your rig and your travel calendar. Our technicians work with the sealants and tapes that perform in the Gulf South climate, and our process focuses on prep, compatibility, and clean water paths so seams stay sealed.
Keeping water outside the coach comes down to a simple rhythm, which is clean, inspect, and reseal before aging turns into damage. If you would rather spend weekends planning routes than comparing products, schedule a roof check with Berryland Campers, then hit the road with confidence that your seams are ready for whatever the forecast brings.